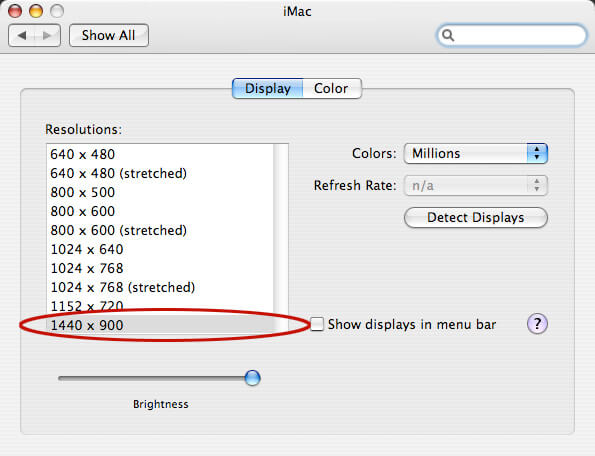
The impact of your decision to upgrade your monitor is a change of display resolution, and this also applies to Mac OSX. Actually, changing the resolution on a Mac operating system can easily be done on your own through some simple steps below.
Initially, the first step is to click the Apple logo found in the top-left corner of the menu bar and then pick “System Preferences.” Next, select “Display” and check the box entitled “Shows display in menu bar.” This step will add a monitor icon in the right side of the menu bar.
Afterward, select the “Monitor” icon so a menu with some options will appear. Then, click the needed screen resolution and Mac OSX’s display resolution will change automatically. If you need to switch between resolutions quickly, you can pick one and the OS will make the change instantly. Also, you will be able to access the “Display Preferences” screen from your current window without going through the “System Preferences” window.
Furthermore, you can also adjust the resolution of your Mac OSX through another alternative. Basically, the level of resolution displayed by the monitor can be adjusted in two ways. The first alternative: you can adjust the resolution by using “Control Strip.” The primary step is to open the “Control Strip” by clicking its end. Then, select the TV icon with a checkerboard pattern and pick from the options offered the one you desire — choices include Color LCD, 640 by 480, 800 by 600, and 1024 by 768. Afterward, you can see the resolution has changed immediately.
The second alternative is adjusting through the Monitors & Sound Control Panel. First, select Apple menu, go to Control Panels and pick Monitors & Sound. Then choose the Monitor icon. Thereafter, select the desired resolution and the screen resolution of your OS will change directly.
Surely these easy steps can be very helpful for you.