
Google App Engine is cloud computing technology for developing and hosting web applications in Google-managed data centers. You can use Google-powered servers to host your web applications. Besides web applications, you can host your static files to act like a CDN (Content Delivery Network). Read more about [HowTo] Host Your Static Files Using Google App Engine For Free from my previous article.
Google App Engine URLs use appspot.com with a format like http://[your-app-id].appspot.com as default. And the good thing is, now you can use your own domain with Google App Engine. For example I use my subdomain cdn.ivankristianto.com to serve my static content from Google App Engine.
Step by step to use your own domain to serve Google App Engine
1. Login to your Google App Engine Account
2. Go to Administration > Application Settings > Domain Setup, and Add domain
3. If you haven’t created any account with Google Apps then you should create one. Click here to create.
4. Enter your domain; a domain should be a naked domain. Example: use example.com instead of www.example.com
5. Follow the wizard until you create an admin account.
6. Go back to the Google App Engine page; now you should add the domain you just added to Google Apps
7. Now your Google App Engine application will show in the Google Apps page
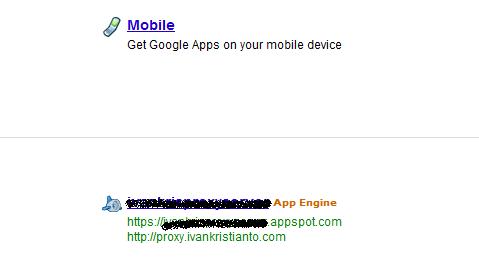
8. Now click on the App Engine ID name to set a domain. Or go to this URL: https://www.google.com/a/cpanel/[yourdomain.com]/AppEngineServiceSettings?appId=[your-app-id]
9. And add a new URL; in my case I add cdn so it will be like this: http://cdn.ivankristianto.com
10. Now you are finished in Google Apps.
11. Go to your domain DNS editor; if you don’t have one, ask your administrator. In cPanel it is available under Domain setting.
12. Add the subdomain and point Alias to ghs.google.com. Example: cdn Alias ghs.google.com
13. Apply the changes and close.
14. Now point to your subdomain; it should be working now.
See it in action for my Web proxy server powered by Google App Engine.