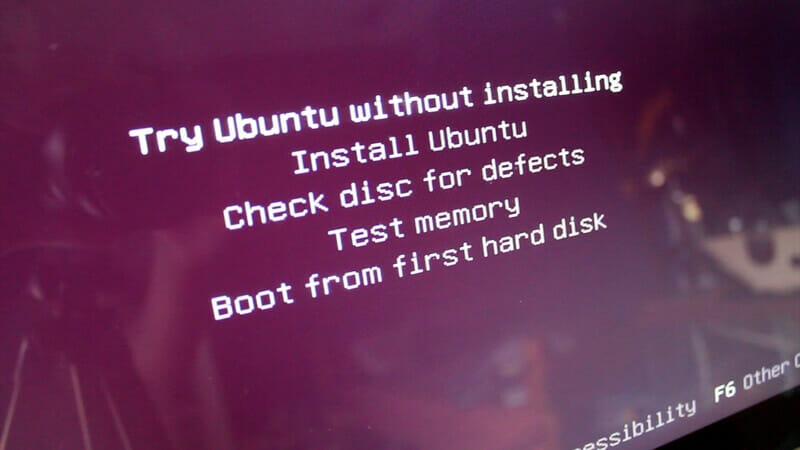
Ubuntu 10.10 code name Maverick Meerkat was released on October 10th, 2010 — you can download it from ubuntu.com for free. But when you are an advanced Ubuntu user, you may need to add more packages or remove some you won’t use. Then you can live boot your custom Ubuntu live CD. And it’s not limited to live CD — you can make it as a live USB too.
There are some reasons you might want to customize a Ubuntu live CD:
- Make your own Linux / Ubuntu distribution — something like rebranding but based on Ubuntu.
- Show off a particular application.
- Localise to a certain language.
- Remove software packages.
- Add software packages.
- Update software packages.
- Change system defaults (theme, icons, desktop background, panels, browser homepage, etc).
To make a custom Ubuntu live CD:
1. Open your terminal and install squashfs-tools and genisoimage:
sudo apt-get install squashfs-tools genisoimage2. Download Ubuntu Desktop CD:
wget http://releases.ubuntu.com/maverick/ubuntu-10.10-desktop-i386.iso3. Move it to a working directory, call it livecdtemp:
mkdir ~/livecdtmp
mv ubuntu-10.10-desktop-i386.iso ~/livecdtmp
cd ~/livecdtmp
4. Extract the CD .iso contents:
mkdir mnt
sudo mount -o loop ubuntu-10.10-desktop-i386.iso mnt
5. Extract .iso contents into dir ‘extract-cd’:
mkdir extract-cd
rsync --exclude=/casper/filesystem.squashfs -a mnt/ extract-cd
6. Extract the SquashFS filesystem to an edit folder:
sudo unsquashfs mnt/casper/filesystem.squashfs
sudo mv squashfs-root edit
7. Give network connection within chroot:
sudo cp /etc/resolv.conf edit/etc/
sudo cp /etc/hosts edit/etc/
sudo mount --bind /dev/ edit/dev
sudo chroot edit
mount -t proc none /proc
mount -t sysfs none /sys
mount -t devpts none /dev/pts
export HOME=/root
export LC_ALL=C
8. Customization time! To enable apt-get within chroot:
dbus-uuidgen > /var/lib/dbus/machine-id
dpkg-divert --local --rename --add /sbin/initctl
ln -s /bin/true /sbin/initctl
Update your sources.list if necessary:
vim /etc/apt/sources.listUpdate your repository:
apt-get updateTo install a new package:
apt-get install [package-name]To remove an unwanted package:
aptitude purge package-nameTo customize Gnome:
a. Customize background:
* add wallpaper file to /usr/share/backgrounds
* edit /usr/share/gnome-background-properties/ubuntu-wallpapers.xml to point to your wallpaper file
b. Change font, panels, etc:
To make any change on the gconf attributes you must add the value that you want in the file /etc/gconf/gconf.xml.defaults/%gconf-tree.xml. Adding a value in that file will change the default values of Gnome or other applications, so you can change fonts, backgrounds, themes, cursors, etc. You can use gconftool-2, under the chroot environment, to adjust the gconf file:
gconftool-2 --direct --config-source xml:readwrite:/etc/gconf/gconf.xml.defaults --type string --set yourkey "yourvalue"I haven’t done this much, since the live CD I create is for disaster recovery, so the default desktop is fine for me. But it’s worth trying.
Change the default timezone used by the live CD:
dpkg-reconfigure tzdataChange local setting:
locale-gen new_locale
update-locale LANG=new_locale LANGUAGE=new_locale LC_ALL=new_locale
9. Clean up:
aptitude clean
rm -rf /tmp/* ~/.bash_history
rm /etc/resolv.conf
rm /var/lib/dbus/machine-id
rm /sbin/initctl
dpkg-divert --rename --remove /sbin/initctl
10. Regenerate manifest:
chmod +w extract-cd/casper/filesystem.manifest
sudo chroot edit dpkg-query -W --showformat='${Package} ${Version}n' > extract-cd/casper/filesystem.manifest
sudo cp extract-cd/casper/filesystem.manifest extract-cd/casper/filesystem.manifest-desktop
sudo sed -i '/ubiquity/d' extract-cd/casper/filesystem.manifest-desktop
sudo sed -i '/casper/d' extract-cd/casper/filesystem.manifest-desktop
11. Compress filesystem:
sudo rm extract-cd/casper/filesystem.squashfs
sudo mksquashfs edit extract-cd/casper/filesystem.squashfs -nolzma
12. Remove old md5sum.txt and calculate new md5 sums:
cd extract-cd
sudo rm md5sum.txt
find -type f -print0 | sudo xargs -0 md5sum | grep -v isolinux/boot.cat | sudo tee md5sum.txt
13. Create the ISO image:
sudo mkisofs -D -r -V "$IMAGE_NAME" -cache-inodes -J -l -b isolinux/isolinux.bin -c isolinux/boot.cat -no-emul-boot -boot-load-size 4 -boot-info-table -o ../ubuntu-10.10-desktop-i386-custom.iso .14. Testing the CD image:
qemu -cdrom ubuntu-10.10-desktop-i386-custom.iso -boot d -m 51215. Burn the CD: You can use any tools you like, for example Gnomebaker. Or:
cdrecord dev=/dev/cdrom ubuntu-10.10-desktop-i386-custom.isoYou can make a USB live with Unetbootin.
That’s it. You can create your custom Ubuntu live CD or even rebrand it. Long live Ubuntu!
There is an online tool to create custom Ubuntu and Debian live CDs called Reconstructor. You can see the tutorial from the How-To Geek article.